App Layout
A guide to the layout of the Novelcrafter interface.
1 min read Last updated Feb 6, 2025
Once you are in a novel, the interfaces have the same overall layout.
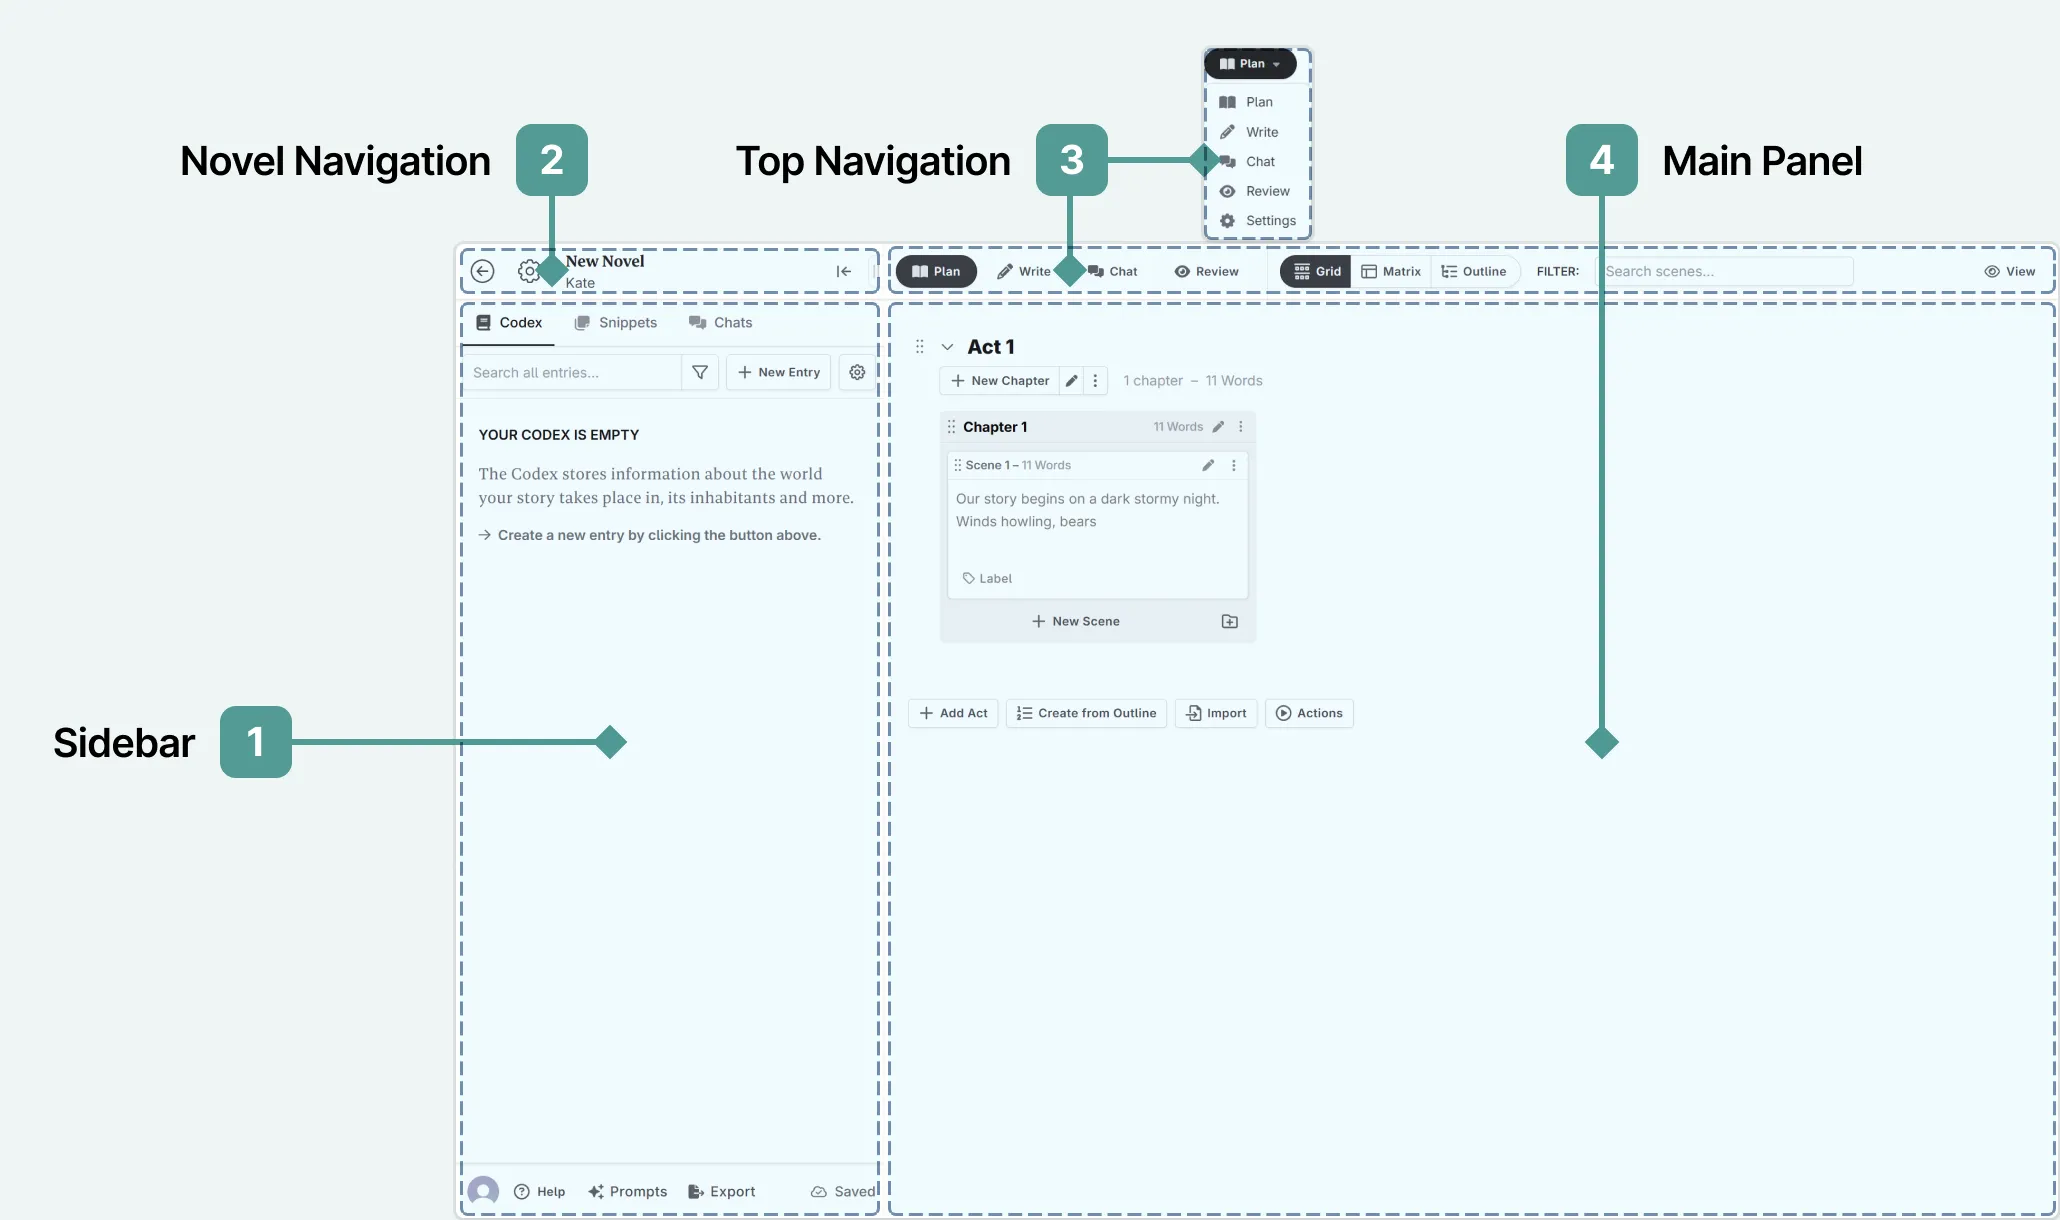
- Sidebar: Here you can access the various writing tools, and pin these to your workspace. At the bottom you can access our help documentation, edit your prompts, and export your novel. The sync indicator, which reassures you that your novel is saved, also lives here.
- Novel Navigation: Return to your novel library, access your novel settings, and minimize the sidebar
- Top Navigation: Access to the Novelcrafter interfaces. For smaller screen sizes, this will appear as a dropdown menu.
- Main Panel: The main interface, where most of your work will take place.
The top navigation bar is made up of: 
- Mode: Switch between the plan, write, chat, and review interfaces.
- View: Select which view you want for the interface, or which chapter/s to view (in the write mode).
- Filters: Search your plan for key words to locate the scenes you are working on easily.
- Settings: Access the settings to finetune the appearance of the mode you are working in. These settings are used across all projects.
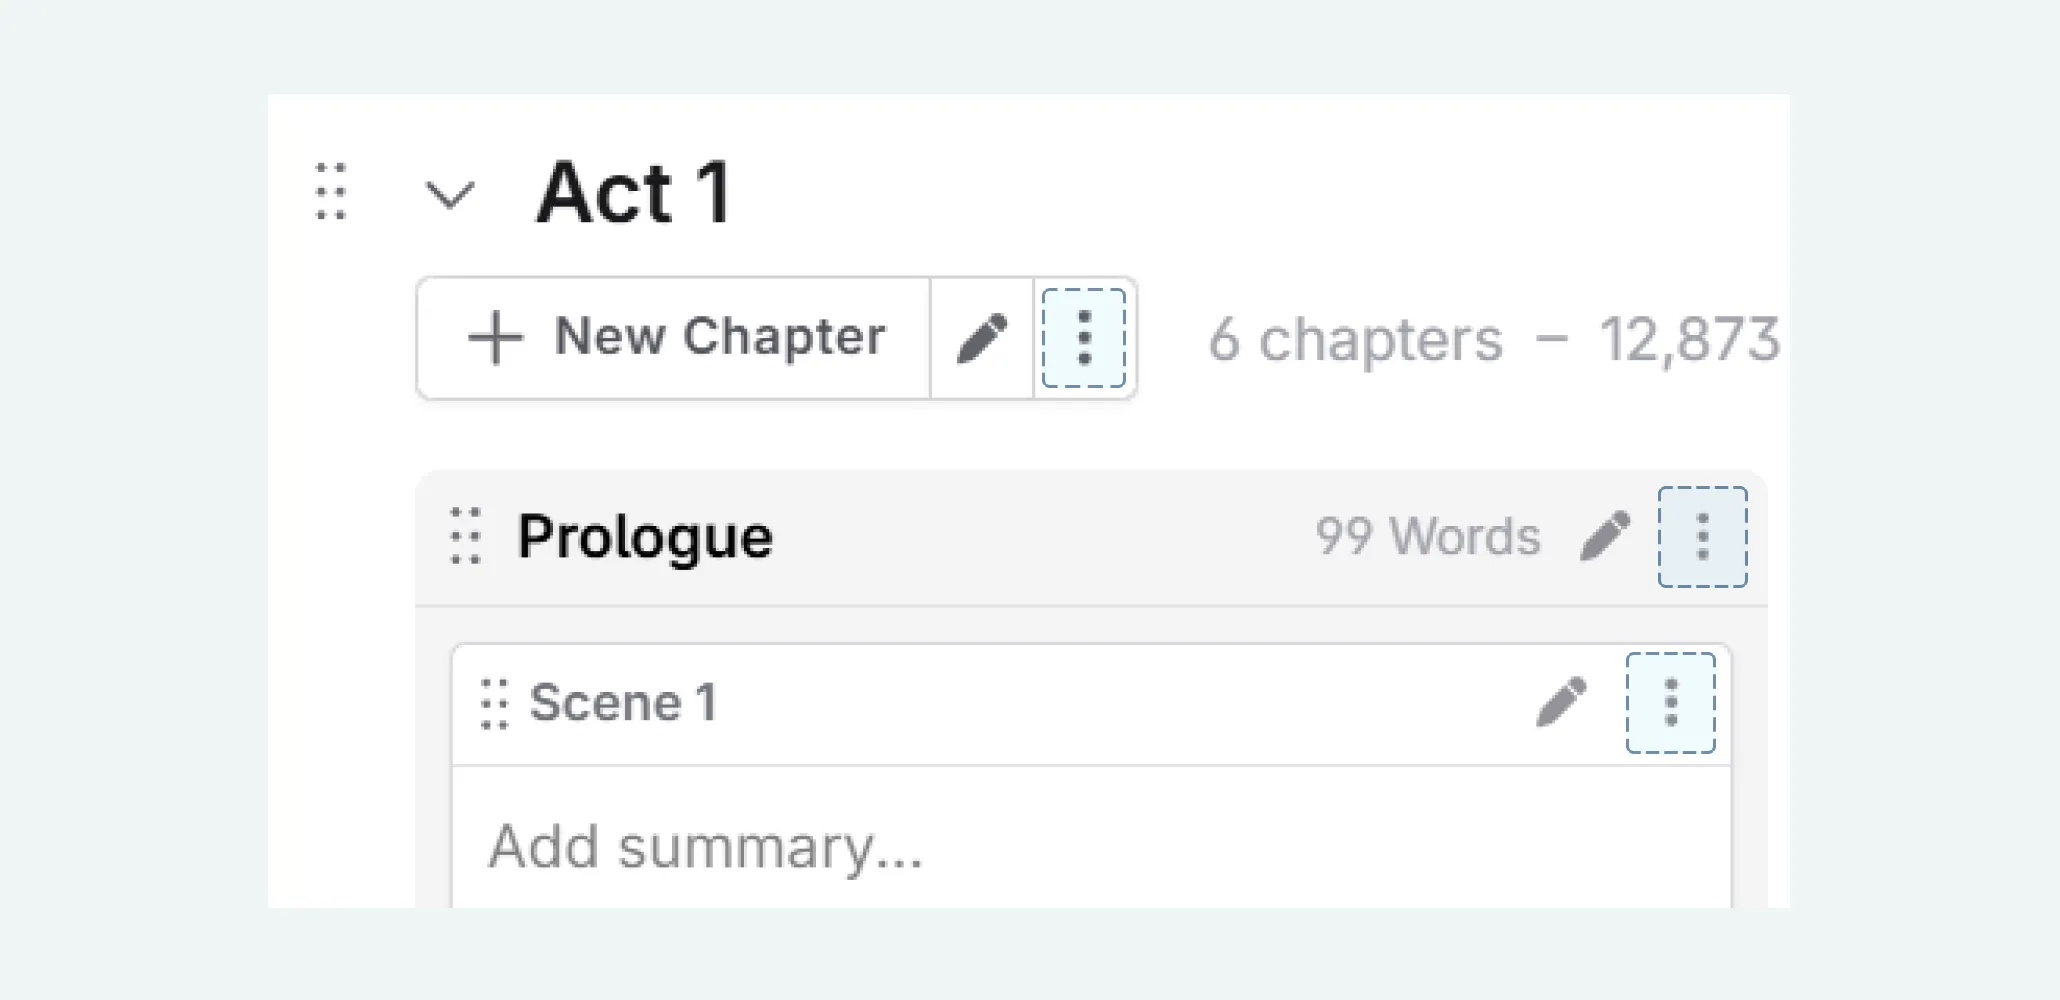
Actions Menu
The actions menu holds everything you need for your writing. If you can’t see a button for it in the main interface, then it is likely living here.
There are action menus in many aspects of the interface: they are associated with acts/chapters/scenes, codex entries, snippets, chats. You will even see these associated with codex progressions within the write interface.