Anatomy of a Codex Entry
Find your way around a codex entry to get started in Novelcrafter.
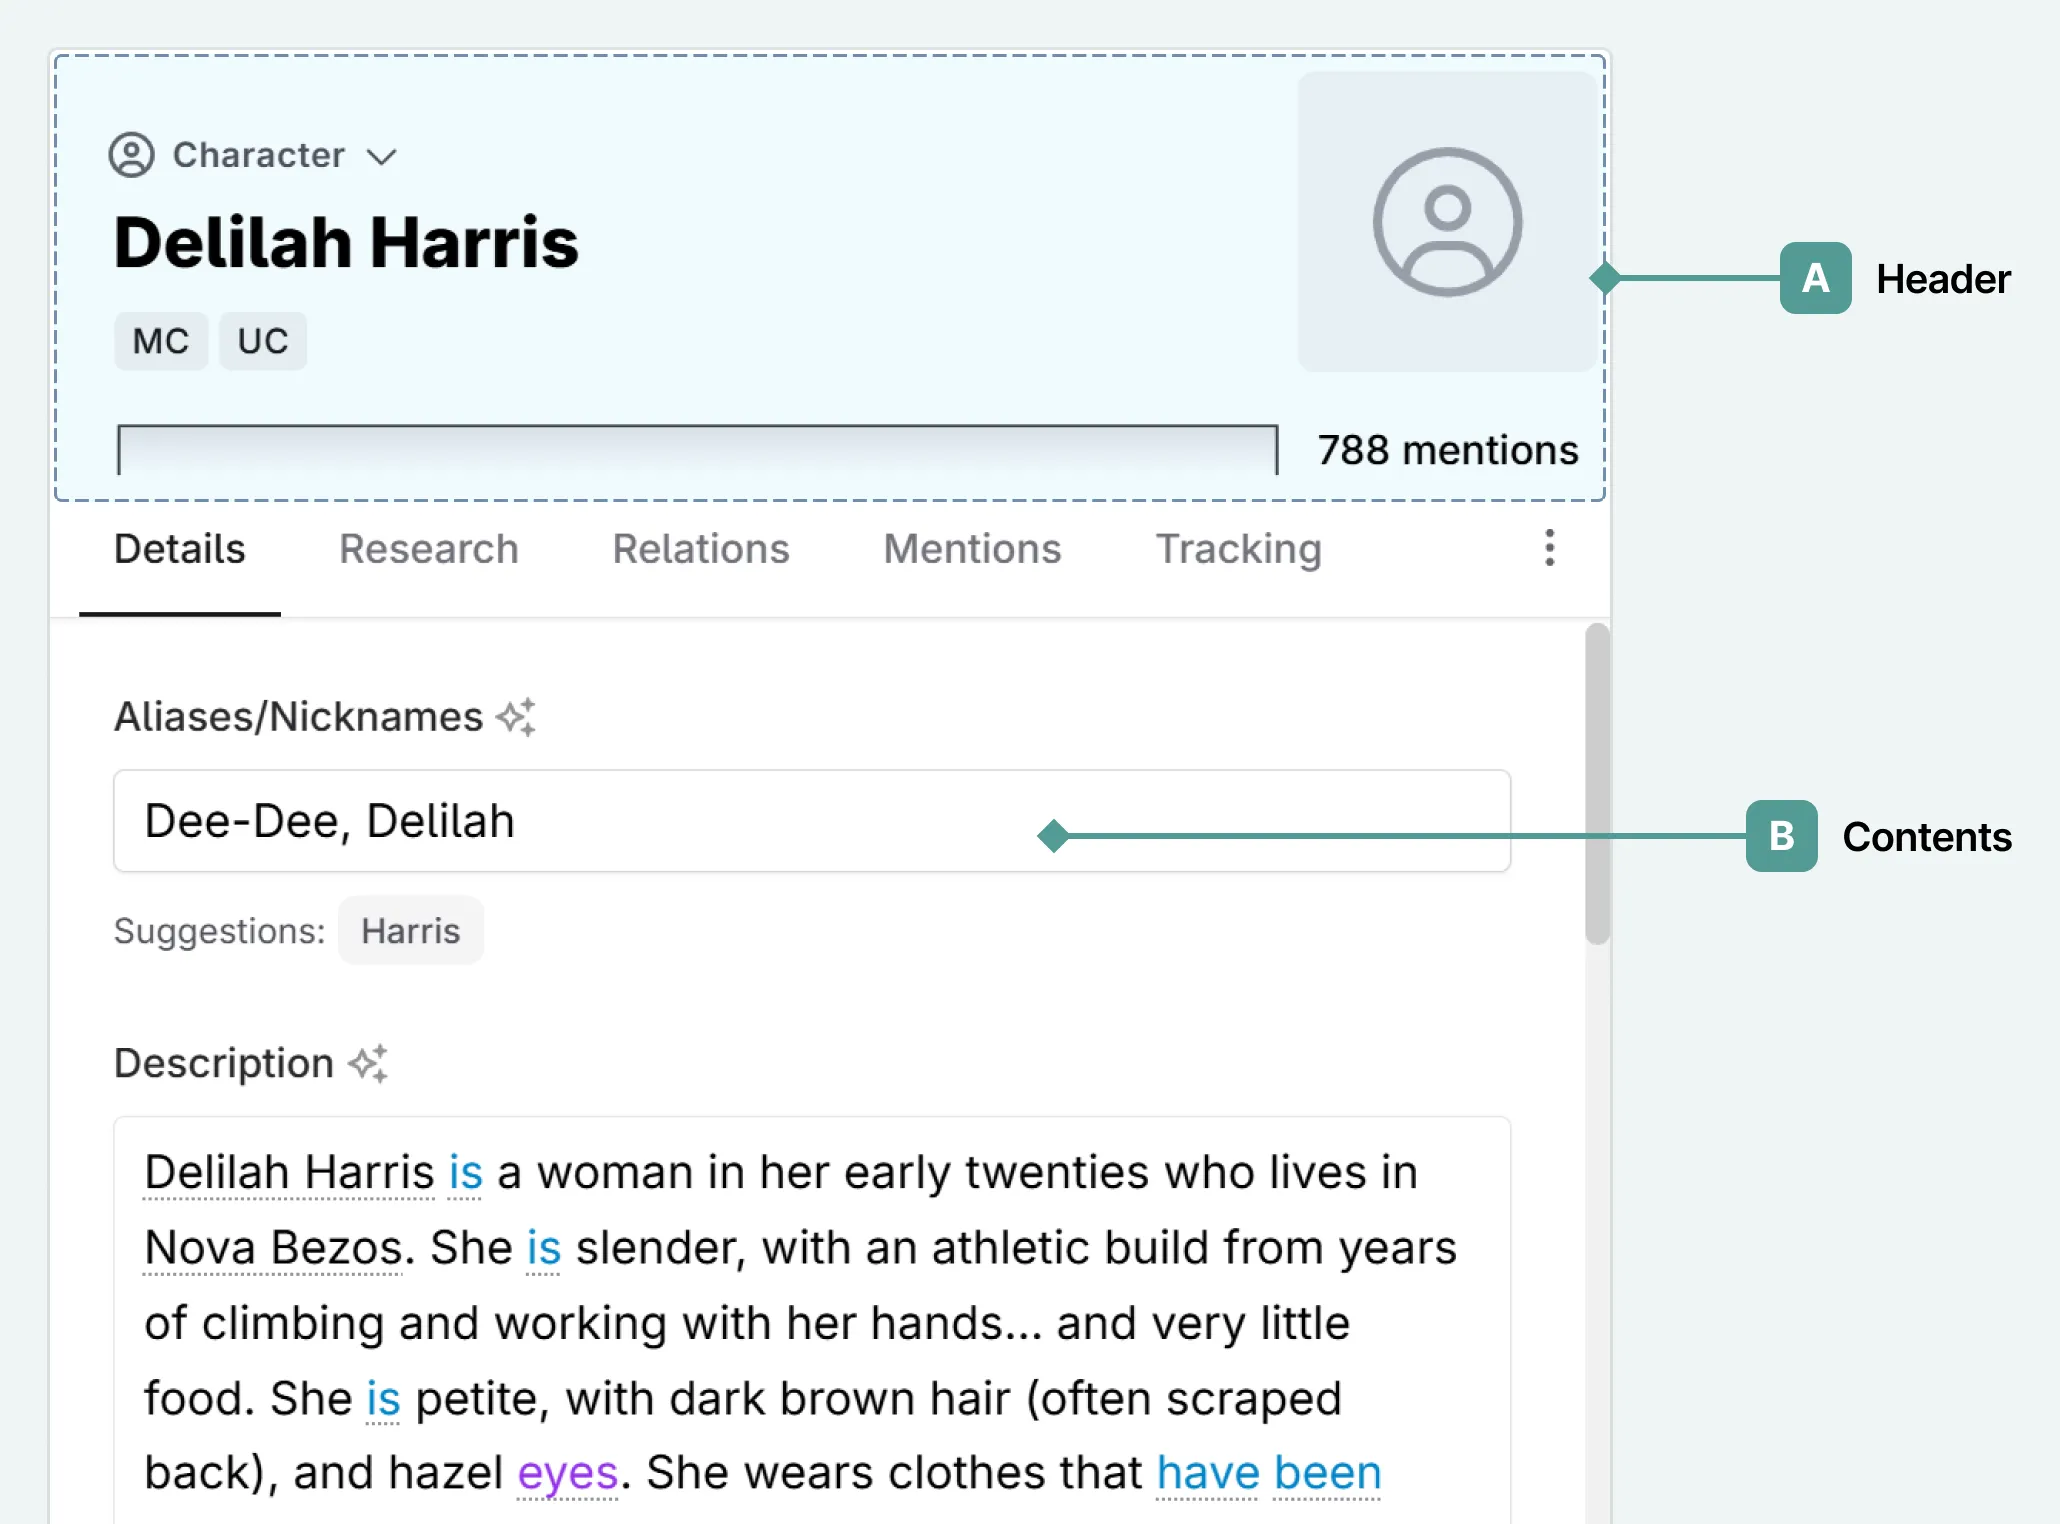
A codex entry is split into a header section (A), that remains constant, and the contents section (B), which changes depending on what tab is open.
A. Header
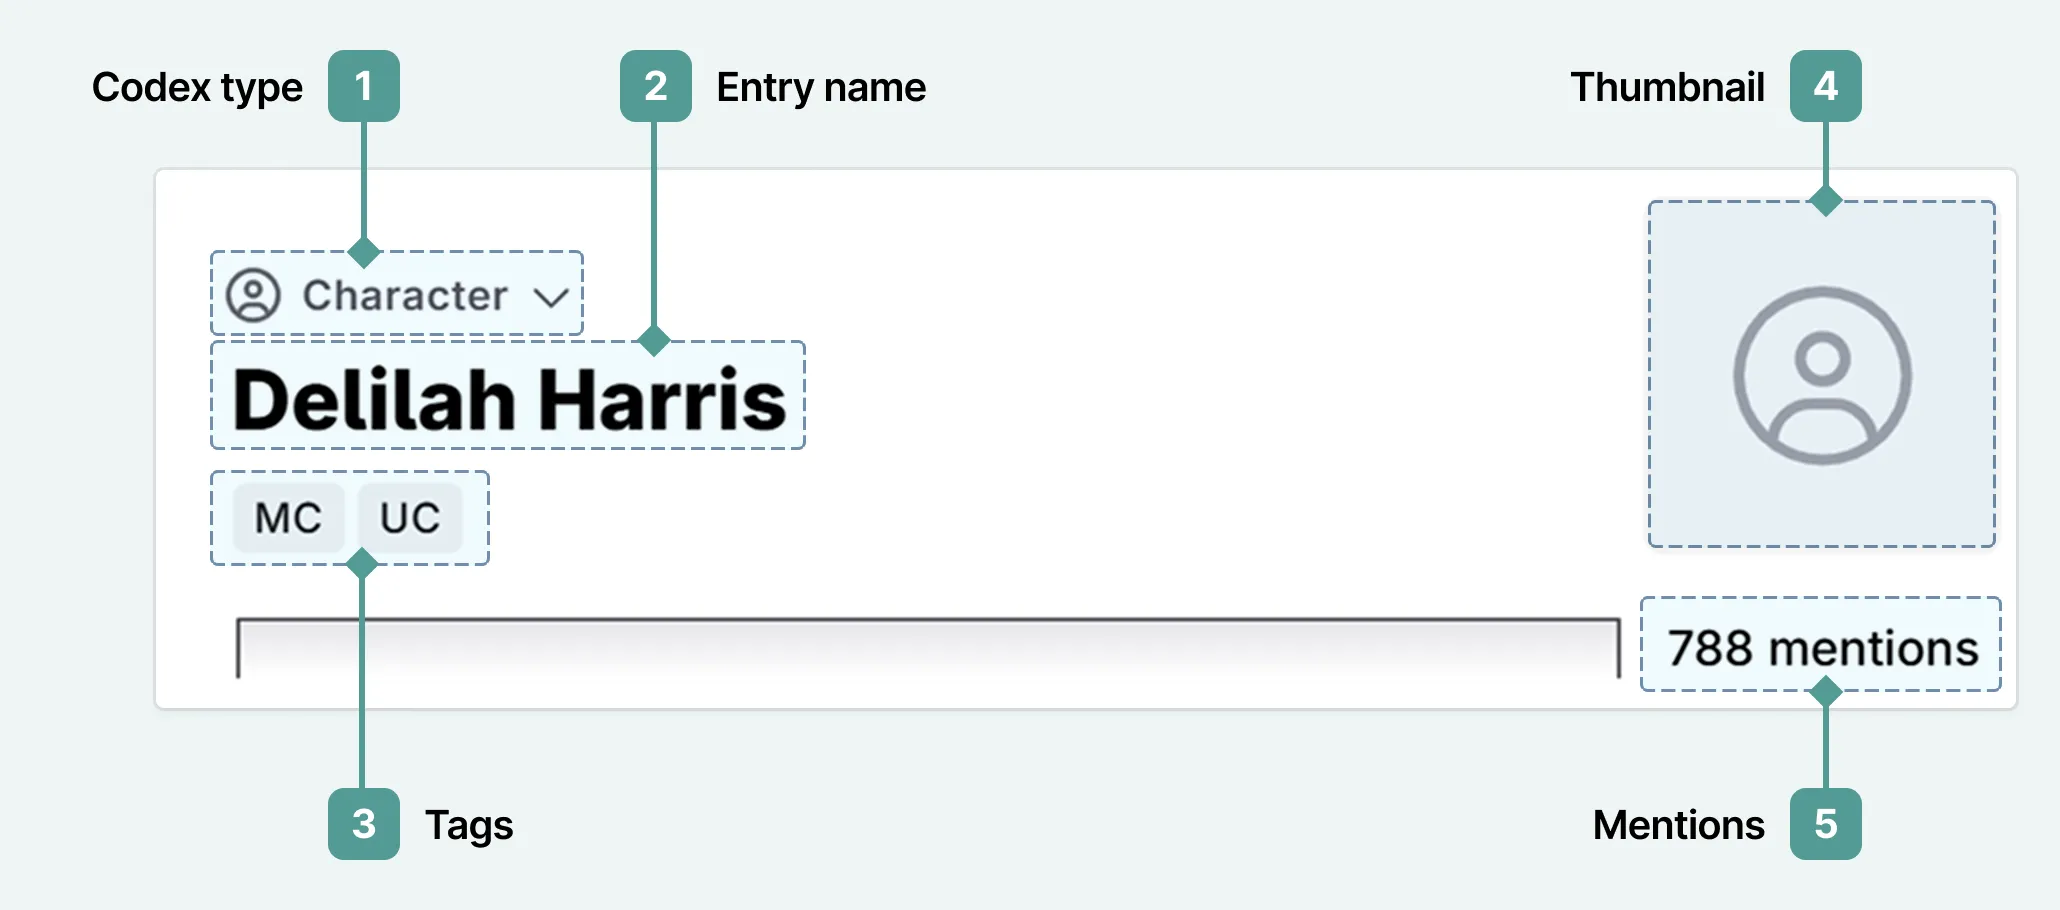
1. Codex Type
Assigned when you create your Codex entry, this can be changed after creation from the drop down.
2. Name
The name of the entry. This is the primary name that will organize the entry in your prose. Use their full name here (e.g. “Dr. John Smith” instead of just “John”). You can include shortform versions of their name in the aliases below.
By default, codex entries are sorted alphabetically.
3. Tags/Labels
Below the name, you can use tags to help categorize and filter your entries. These tags can be used to group codex entries into categories, to mark roles in stories, and for other organizational aspects.
These are not seen by the AI, and are for human organization.
Each codex type has pre-set tags (e.g. protagonist/antagonist/secondary character, city/town/continent, or magic/technology/religion), but you can also add your own (e.g. groupings by family, company), to organize based on your story’s unique elements.
You can use tags to quickly find all entries that have a certain tag. If you use tags to state information that you will want the AI to know, then you will also need to include it in a codex field or the details section.
4. Thumbnails
Visualise your codex entry by adding images as thumbnails. Select the blank icon and your upload menu will appear. You will be able to crop and position the thumbnail.
Currently you can only have one image associated with a codex entry.
5. Mentions Tracker
Below the thumbnail, you can see a visual representation of the mentions a codex entry has (by name or any aliases). This enables you to see where an entry is mentioned, and if their focus is in one particular area of your project.
You can turn tracking off, or adjust matching options, in the Tracking tab.
B. Contents: Details

1. Aliases and Nicknames
Aliases are alternative names for the entry. These can include a character’s first name, a nickname, or a title. Include any name your character/place/object is known by, so that the AI knows to pick it up.
By default, Codex entries are matched case-insensitively, which means an entry named “Red” would also match “red” in your manuscript. If you need to distinguish the entry name from an ordinary common word, you can enable case-sensitive matching in the Tracking tab.
Acronyms, such as S.T.A.R. are differentiated from their common noun counterparts (i.e. star).
2. Description
The description is a place to write any necessary information about the entry that the AI should know about as well. You should be fairly descriptive, while being concise to not overload the AI with too much context.
If you want to keep your codexes simple, then all you need is the description. Everything can go in here, and you can organize it how you wish using the formatting tools.
Codex additions are shown beneath the description.
Below the description box, you can also see the wordcount, the entry history, and a quick-copy button. The description history works in the same way a scene content or scene summary history functions, where you can see past snapshots of your description, and restore them.
3. Add Details
New to the codex, details are our nifty way of organising your codex. The add details button allows you to add any details you have already set, add all missing details, or to manage custom details. If no details apply to the codex type (or you have not added any yet), then only the option to manage custom details will be available to use.
For more details see our codex details documentation.
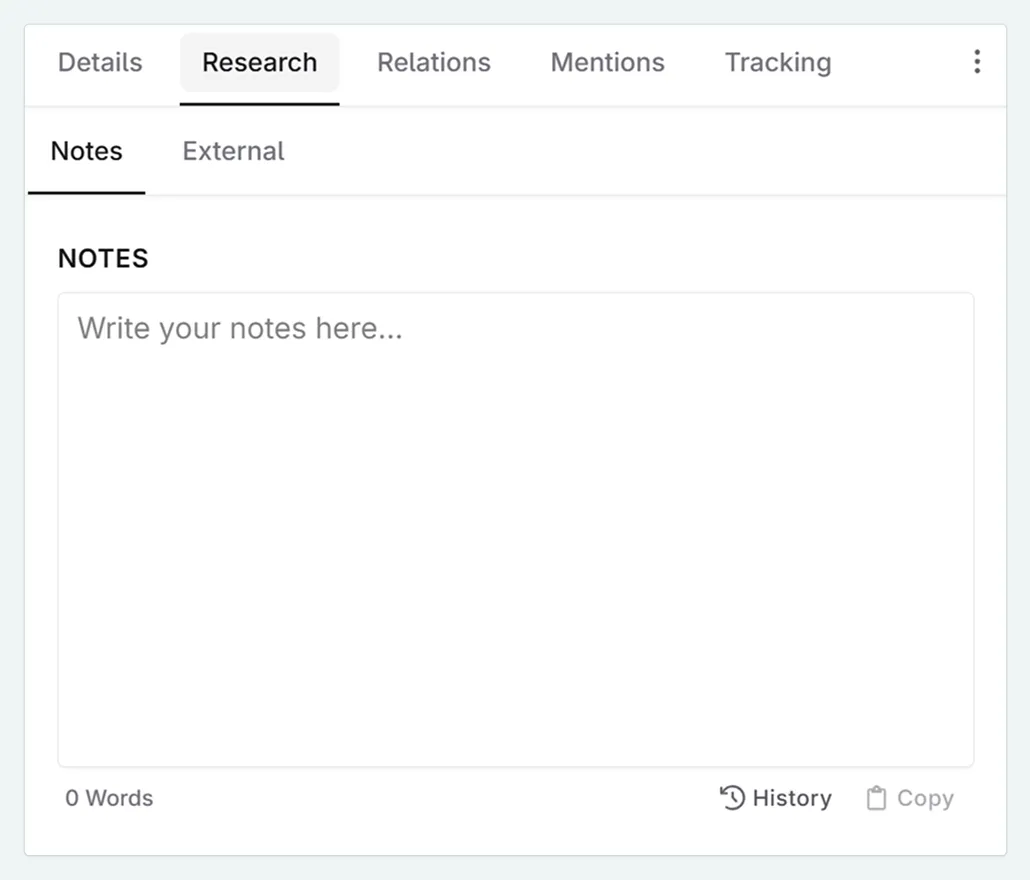
C. Contents: Research
The codex isn’t just for your AI-related content. Use the research section to include all the additional information that you have brainstormed, but don’t want to be considered when generating prose (for example, appearance if the AI has already mentioned eye color 20 times).
1. Notes
Notes can be used as a scratch pad for ideas you want to attach to this entry for later.
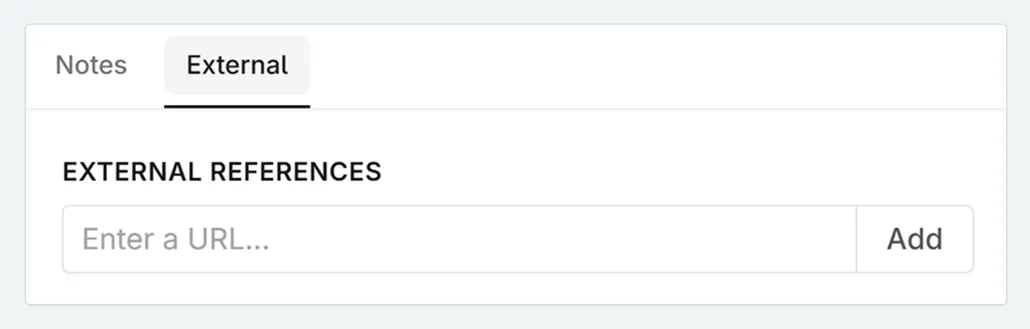
2. External References
The external tab stores any links to external sites that you may have - inspiration images, YouTube videos, audio files, music/soundtrack links, quizzes, character sheets, etc.
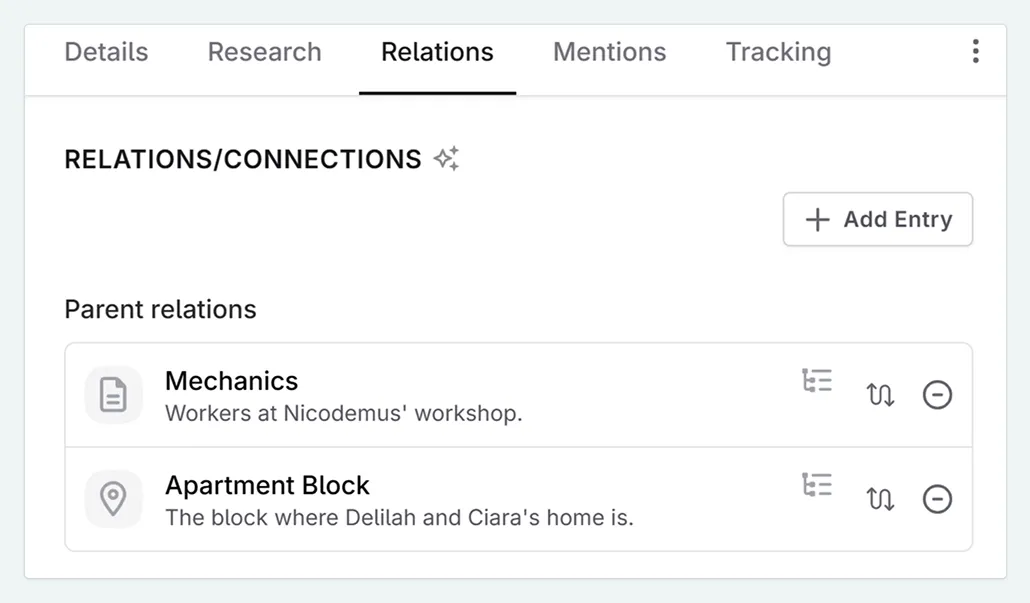
D. Contents: Relations
Formerly called nested references, relations allow you to group codex entries. Let’s say you have something like “The Council of Five” and want to pull in the character sheets for all five members whenever the council gets mentioned. Or you have two gangs, and want to ensure the AI will always know which family the member belongs to.
You can also use this feature to have a single mention pull in all referenced documents (e.g. “Alekabonato World Building” could be a group that pulls in data about the Country, their customs and social structure, dress codes…)
You can view relations in either direction within a codex entry, and nest relations into the current entry. For each nested entry, you can also swap the entry (i.e. parent to child) and remove the relation.
To make adding entries easier, there is a search bar at the top, so you can filter by name.
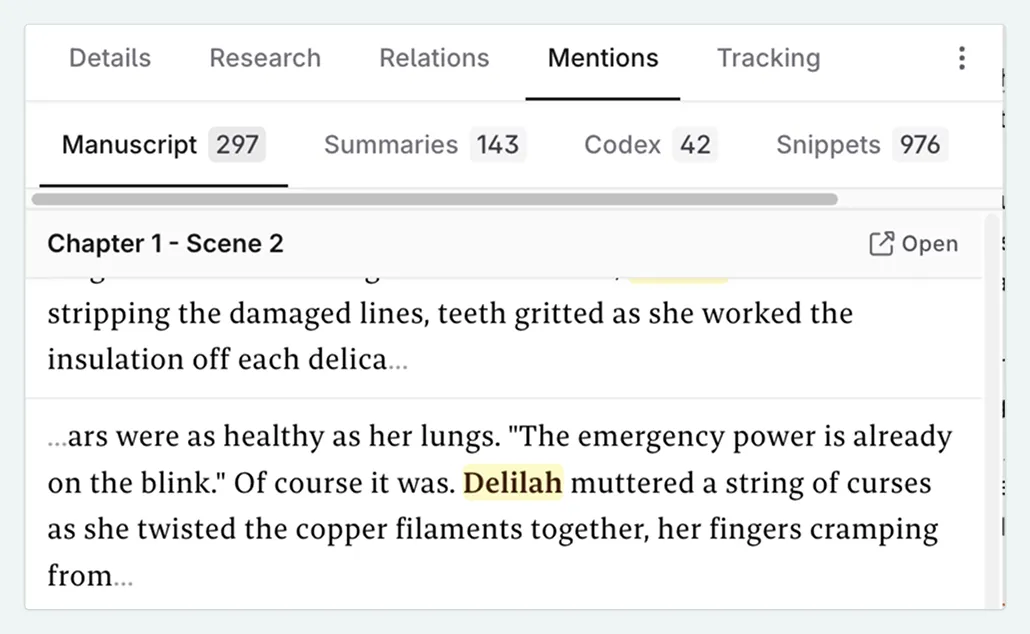
E. Contents: Mentions
In the mentions tab, you can track every mention of the codex name or its aliases. These are further broken down into the manuscript, scene summaries, codex entries, snippets, and chat threads.
Can’t remember which chat you spoke about the magic ring? No worries! With mentions, it is easy to narrow the chats down!
F. Contents: Tracking
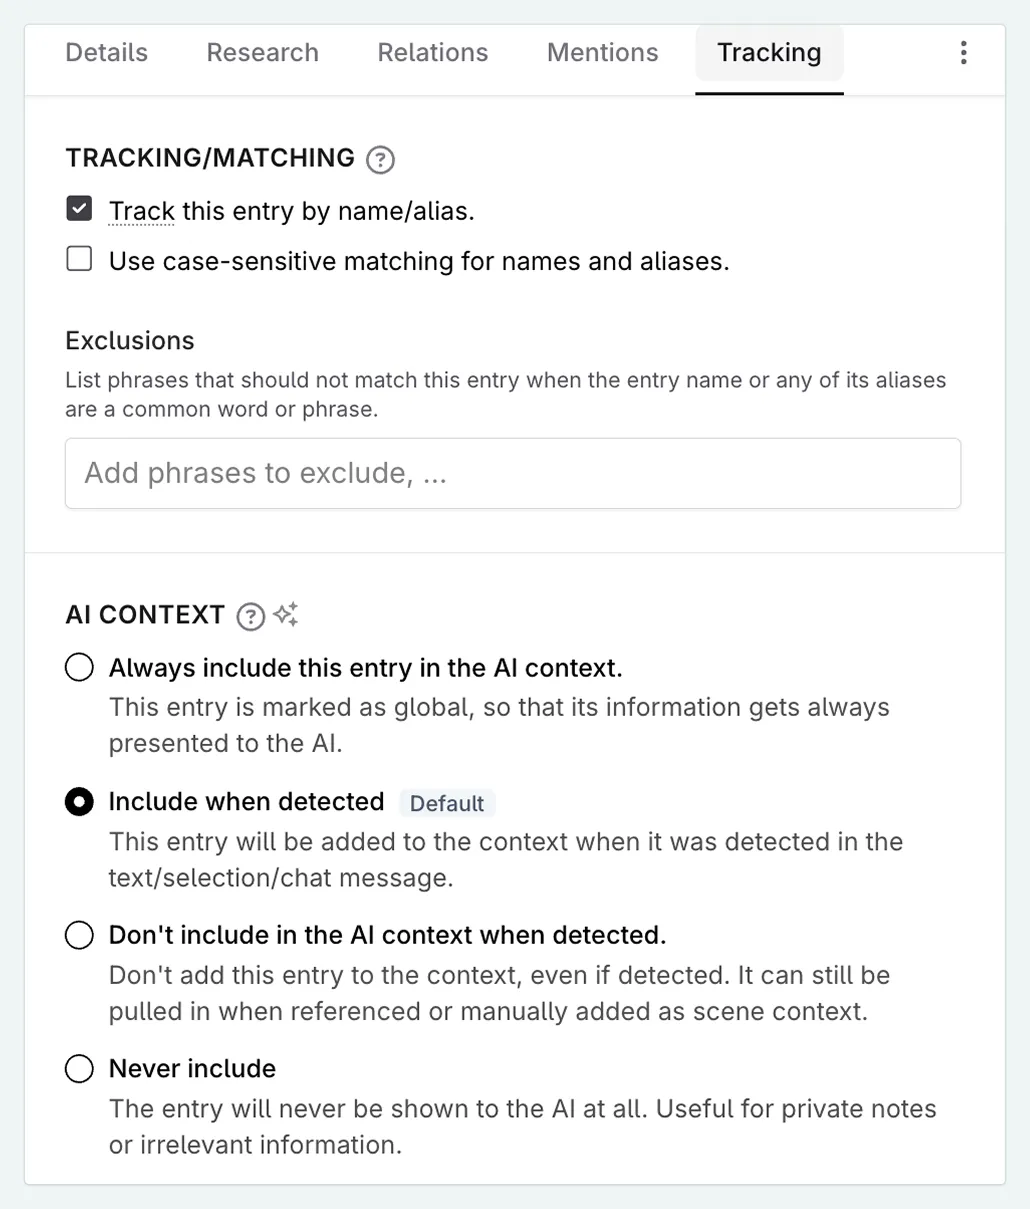
The Tracking tab controls how Novelcrafter detects and highlights the entry in your project, and when its information is sent to the AI.
Key settings include:
- Track this entry by name/alias — toggles mention highlighting and the heatmap on or off.
- Case-sensitive matching — limits detection to the exact capitalisation of the name and aliases, which is helpful for entries whose names are also common words.
- Exclusion list — lets you specify phrases that should not be counted as mentions.
- AI Context — controls whether the entry is always sent to the AI, only when detected, or never.
For full details, see the Codex Tracking documentation.